Create a web page - step by step
From first click to published content: Here's how you create a web page in Content Studio!
1. Choose a page type
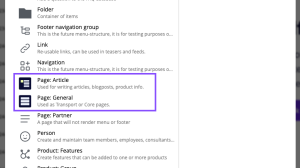
When you add a new page to your site, you'll see two page types in the list of available content types.
Choose Article for long-form text content, and General for everything else.
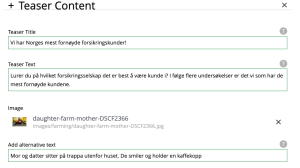

3.Put your content into parts
To work fast and smooth, you want to know all the parts and how they work. See what they look like and how to use them in our design system!
Now your ready to start filling the page with actual content.
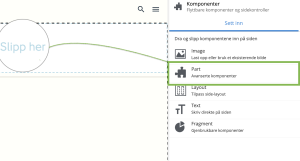
All content on our web pages is put into a part. Parts are the building blocks we use to structure content, and which part you should use depends on the content at hand.
To add a part to your new page, click on the page and select "Endre" in the top menu.
Now move to the right hand panel, and choose "Sett inn". Then choose part, and drag it into the page builder.
3. Prioritise your content with drag-and-drop
Other than placing Header-parts at the top of the page, there are no strict rules on how to combine and prioritize parts:
- Plan your content
- Place the parts in the order that best suits your needs
- Use the drag-and-drop functionality to rearrange the parts as needed
- Think "mobile first": Although you may place tasks and cards next to each other on desktop, they will stack beneath each other on mobile, causing lots of scrolling